Informational guide by the ImmoMulti Team. Facts are sourced from the TAT, Éducaloi and the Civil Code of Quebec; this content is not legal advice.
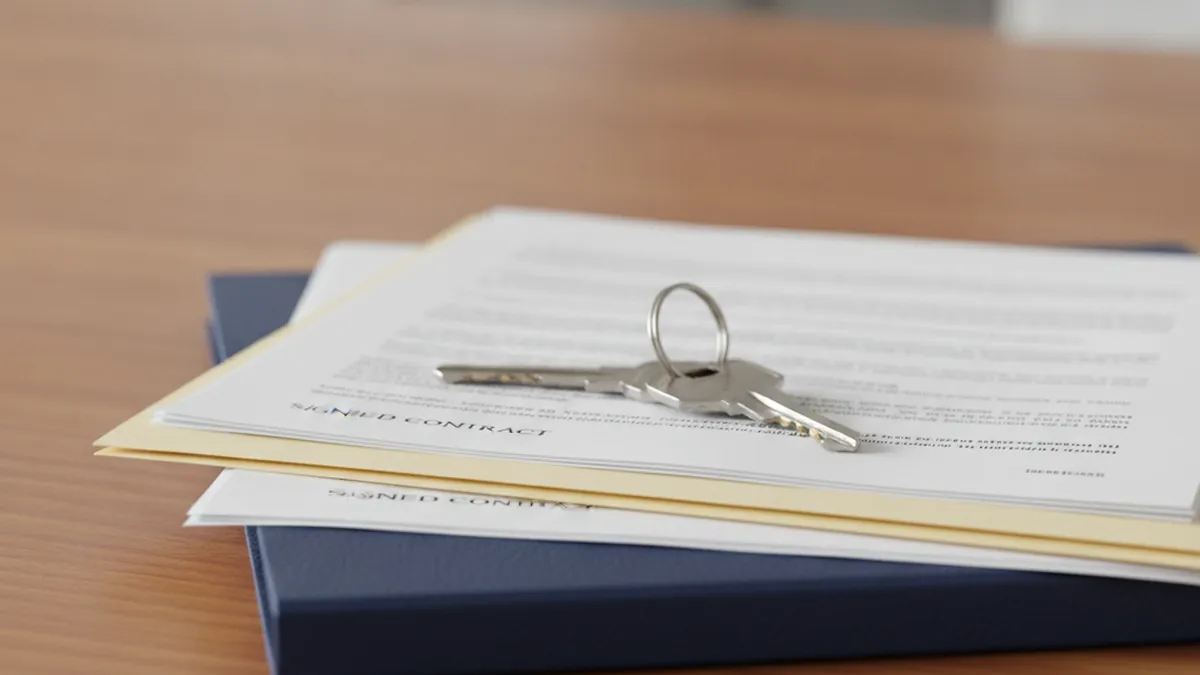
The move-in and move-out inspection of a unit is the most underrated tool a plex landlord has. A simple folder of photos, a signed checklist and, ideally, a witness can make all the difference the day a tenant leaves your multi-unit property on the North Shore with a hole in a wall or a damaged floor. Here is how to document a unit's condition to turn your word into solid evidence before the Tribunal administratif du logement (TAT).
Why document the move-in inspection of a unit?
In Quebec, the move-in inspection is not mandatory — which is exactly what makes it so powerful for those who do it. The Civil Code of Quebec requires the tenant, at the end of the lease, to return the unit in the condition in which it was received, apart from normal wear and tear (article 1890). The problem is obvious: without a record of the condition "in which it was received," how do you prove what changed?
That is the role of the inspection. By capturing the unit's condition when the tenant moves in, then again when they move out, you create an objective point of comparison. Without it, a damage claim at the TAT pits your memory against the tenant's — and the burden of proof falls on whoever is claiming, which is you.
Sources: Civil Code of Quebec, art. 1890 · Éducaloi — housing rights resources.
What the inspection lets you do
- Prove the unit's initial condition, room by room.
- Distinguish real damage from normal wear that is not the tenant's fault.
- Support a TAT claim with dated, consistent evidence.
- Defuse disputes: a tenant who knows they were documented is more careful.
The move-in inspection, step by step
Ideally, carry out the inspection on the day you hand over the keys, before the tenant moves in, in their presence. An empty unit documents far better than a furnished one. Work methodically, room by room, in a fixed order (entrance, kitchen, living room, bedrooms, bathroom, storage, and exterior or common areas where applicable).
- Prepare a checklist listing each room and each element (walls, ceiling, floor, windows, doors, appliances, plumbing, light fixtures).
- Note the condition of each element precisely: "living room wall: good condition, one 5 cm scuff near the outlet."
- Photograph or film each room in full, then each defect up close.
- Read the meters and test the equipment (appliances, smoke detectors, faucets).
- Sign and date the checklist with the tenant, and give them a copy.
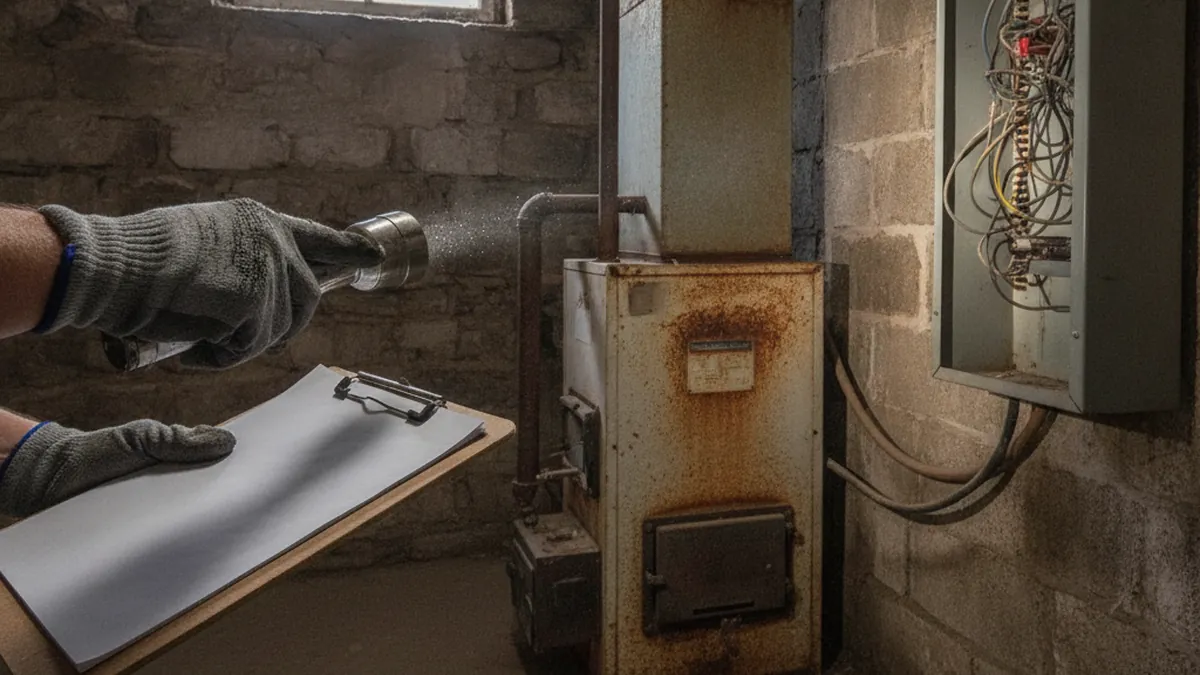
The 3 evidence pillars: photos, checklist, witness
An inspection that holds up rests on a bundle of evidence, not on a single element. The more your proofs corroborate one another, the harder they are to challenge.
| Pillar | How to do it well | Trap to avoid |
|---|---|---|
| Photos / video | Timestamped, each room in full then each defect up close; narrated video with the date spoken aloud. | Blurry, undated photos, or a single detail with no context. |
| Written checklist | Room by room, precise descriptions, dated and signed by both parties, a copy given to the tenant. | Vague entries ("good condition" everywhere) with nothing verifiable. |
| Witness | A neutral person (not your spouse) who observes the condition and can testify if needed. | No witness, or one so close their credibility will be challenged. |
Think, too, about what you will do with this evidence: it only has value if you keep it durably. Back up photos, videos and the signed checklist in several places (cloud, drive, email to yourself) and keep them for the entire lease, plus at least three years after the tenant leaves.
Move-out inspection and normal wear and tear
At the end of the lease, repeat exactly the same exercise, with the same checklist and the same room order, with the tenant present if possible. The move-in/move-out comparison reveals what changed. That leaves the crucial question: is it damage or simply normal wear and tear?
| Normal wear (not chargeable) | Damage (chargeable to the tenant) |
|---|---|
| Paint faded by time and light | Holes, graffiti or major marks on walls |
| Floor slightly dulled by foot traffic | Deeply scratched, burned or stained floor |
| Silicone joints yellowed with age | Mould from repeated lack of ventilation |
| Small frame or screw holes | Broken appliances, smashed doors, forced locks |
This distinction is at the heart of every dispute. A landlord cannot claim the cost of a full repaint because the paint has aged: that is normal wear. But they can claim the repair of a smashed wall — provided they prove, thanks to their move-in inspection, that the wall was intact at the start. For the next step of a claim, our guide on tenant-caused damage and insurance claims lays out the concrete steps.
What is the evidentiary value of the inspection at the TAT?
Before the Tribunal administratif du logement, no rule imposes a particular inspection format — but the tribunal freely assesses the evidence submitted to it. In practice, a complete file (signed checklist + timestamped photos + witness) carries clearly more weight than a verbal claim or a few isolated photos taken after the fact. The TAT publishes guidance on evidence that values dated, consistent documents.
The burden of proof is on you
It is the landlord making the claim who must prove the damage and its extent. Without a move-in inspection, you start at a heavy disadvantage: the tenant only has to assert that the defect was already there. A documented file reverses that dynamic.
The link to the lease also matters: maintenance and return-of-condition obligations flow from the TAT lease. Understanding that document well helps you frame your expectations; on that note, our article on mandatory tenant notices and legal deadlines is a useful companion to the inspection process.

Common mistakes to avoid
- Documenting nothing at move-in. The costliest mistake: with no starting point, no comparison is possible at move-out.
- Photos with no date or context. A lone photo of a hole does not prove when it appeared. Favour timestamps and wide shots.
- A checklist that is too vague. "Good condition" everywhere proves nothing. Describe each existing defect, however minor.
- Not having the tenant sign. A jointly signed inspection is worth far more than a document only you know about.
- Confusing wear with damage. Claiming a repaint for aging paint undermines the credibility of your entire claim at the TAT.
- Destroying evidence too soon. Keep the move-in inspection for at least three years after the tenant leaves.
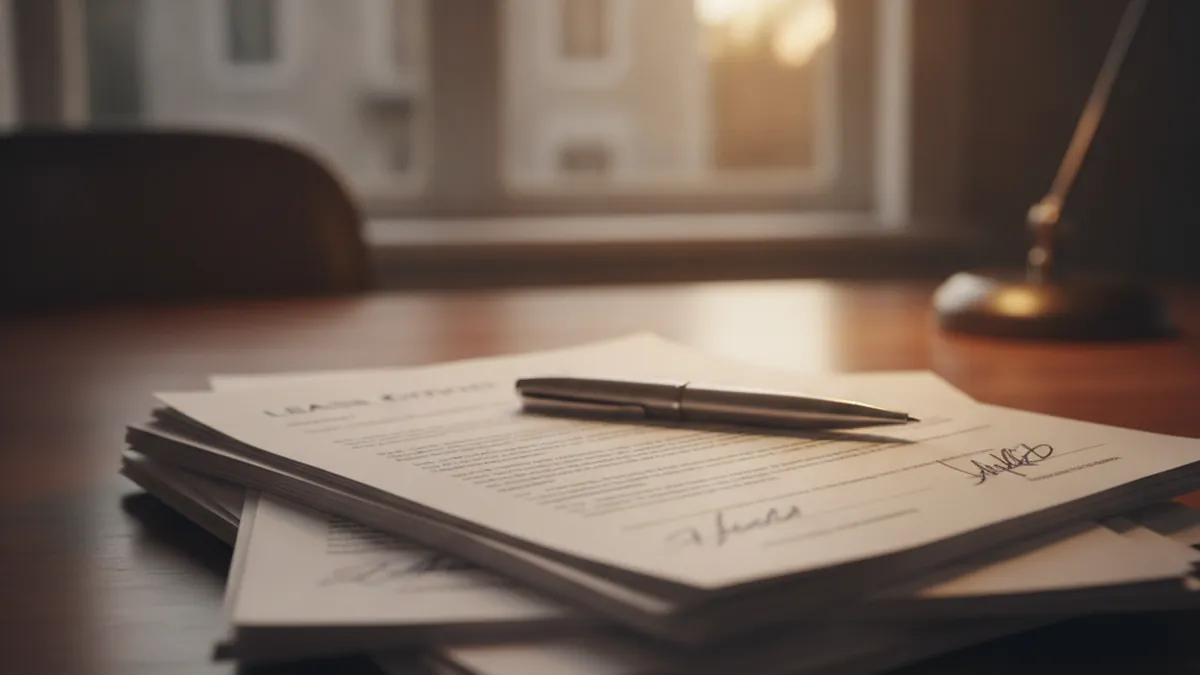
The room-by-room checklist template
A good inspection is not improvised on a corner of a table the day you hand over the keys. It rests on a structured checklist that you reuse, identical, at move-in and move-out for every tenant. That symmetry is what gives the comparison its power: if both documents follow the same order, the same rooms and the same descriptors, the gap between the initial and final condition jumps out — including to a Tribunal administratif du logement adjudicator who has never set foot in your plex.
The principle is simple: each unit breaks down into rooms, each room into elements, and each element gets a condition rating and a descriptive comment. A bare "good condition" is worthless; "living room, north wall: good condition, two screw holes filled near the window, 5 cm scuff behind the door" is gold, because it is verifiable and dated.
The condition descriptors to use
Adopt a simple, consistent scale, the same for every unit. Four levels are enough, as long as you always pair the rating with a concrete comment:
- New / excellent — recent element, no visible defect (e.g. laminate floor laid last month).
- Good — minor traces of use, nothing abnormal (small marks, clean paint).
- Worn / fair — visible wear but functional (faded paint, floor dulled by traffic).
- Defective / needs repair — a real defect to note without fail (hole, crack, broken appliance, mould).
The "defective" column matters most at move-in: every pre-existing defect you document is one the tenant cannot pin on you at move-out. A prudent landlord even records micro-defects (a cabinet door that closes badly, a yellowed silicone joint) — not to claim them, but to prove later that they were already there.
The room-by-room grid
Here is the framework we recommend to landlords of multi-unit properties on the North Shore. Adapt it to the unit's actual layout, but keep the "one line per element" logic:
| Room | Elements to document | Common points of attention |
|---|---|---|
| Entrance / hallway | Door, lock, floor, walls, ceiling, light fixture, closet | Lock condition, number of keys handed over, moving marks |
| Kitchen | Counter, cabinets, sink, faucet, backsplash, floor, appliances provided | Counter burns, sink joints, oven and fridge function |
| Living / dining room | Walls, ceiling, floor, windows, screens, outlets, thermostat | Fixture holes, floor scratches, windows that close poorly |
| Bedrooms | Walls, floor, closet, window, blind provided, ceiling light | Frame holes, mould at the base of walls, window condensation |
| Bathroom | Tub/shower, toilet, sink, fan, tiling, joints, mirror | Mould, silicone joints, working fan, leaks under the sink |
| Storage / basement | Storage, floor, walls, presence of moisture, water meter | Infiltration marks, damp smell, water heater condition if included |
| Exterior / common | Balcony, stairs, shed, parking, mailbox | Balcony structure, snow removal, shared plex elements |
Always end with an "equipment and readings" section: number of keys and remotes handed over, meter readings (electricity, gas, water where applicable), and a test of the smoke and carbon-monoxide detectors. Recording that the detectors worked at move-in also protects you on the safety front. Date it, sign it, have the tenant sign it, and hand over a copy on the spot.
The habit that makes the difference
- One and the same checklist, reused at move-in and move-out.
- One line per element, never a blanket "good condition."
- Every pre-existing defect noted, however minor.
- Photos or video attached to each "defective" line.
- Signatures, date and a copy handed over the same day.
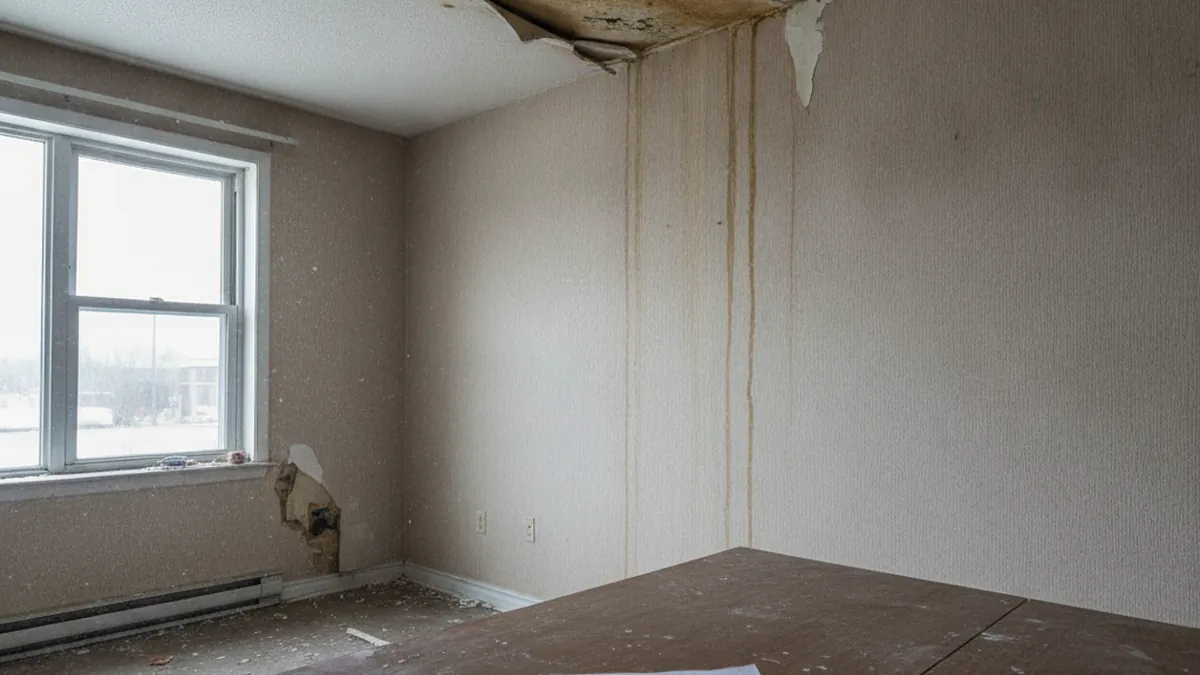
No security deposit in Quebec: here is why evidence becomes everything
In many Canadian provinces and across the United States, the landlord collects a security deposit at signing and draws on it to cover damage at move-out. In Quebec, that mechanism does not exist. Article 1904 of the Civil Code of Quebec prohibits demanding any amount as a deposit, security or guarantee: the landlord may only require the first term of rent in advance (usually the first month), and nothing else. Postdated cheques cannot be required either. The Government of Quebec has said it plainly: demanding a security deposit is illegal.
Sources: Civil Code of Quebec, art. 1904 · Government of Quebec — demanding a security deposit is illegal ·Éducaloi — housing rights resources.
This ban changes everything. The Quebec landlord has no financial cushion withheld in advance to absorb a smashed wall or a ruined floor. When the tenant leaves, you cannot simply "keep the deposit": you must first pay for the repair out of pocket, then recover the amount from the former tenant — by agreement or, failing that, by filing a claim at the TAT. And to win that claim, you need evidence. That is exactly where the move-in inspection stops being a luxury and becomes your only line of defence.
What you can and cannot demand
| Practice | Allowed in Quebec? | Basis |
|---|---|---|
| First month's rent in advance | Yes | The only advance allowed by art. 1904 C.C.Q. |
| Security / damage deposit | No | Prohibited by art. 1904 C.C.Q. |
| Deposit for keys or a remote | No | Treated as a prohibited amount |
| Mandatory postdated cheques | No | Prohibited; the payment method cannot be imposed this way |
| Claiming the actual damage after move-out | Yes | Repair claim, with evidence |
Note the nuance: some tribunals have recognized the validity of a deposit freely and voluntarily proposed by the tenant, since the protection of article 1904 is a public-order protection. But a landlord can never require it or make it a condition of the lease. In practice, rely on documentation, not a deposit: it is safer and perfectly legal.
The direct consequence
With no deposit to cover you, a defect that was not documented at move-in is a defect you risk paying for yourself, with no realistic recourse. The move-in inspection is not red tape: it is the one mechanism that replaces the prohibited security deposit and lets you recover your costs.
That is why seasoned landlords treat every new lease as opening an evidence file. On key-handover day, they walk away with a signed checklist and a gallery of timestamped photos. That habit, multiplied by the number of units in a North Shore multi-unit property, means thousands of dollars protected year after year.
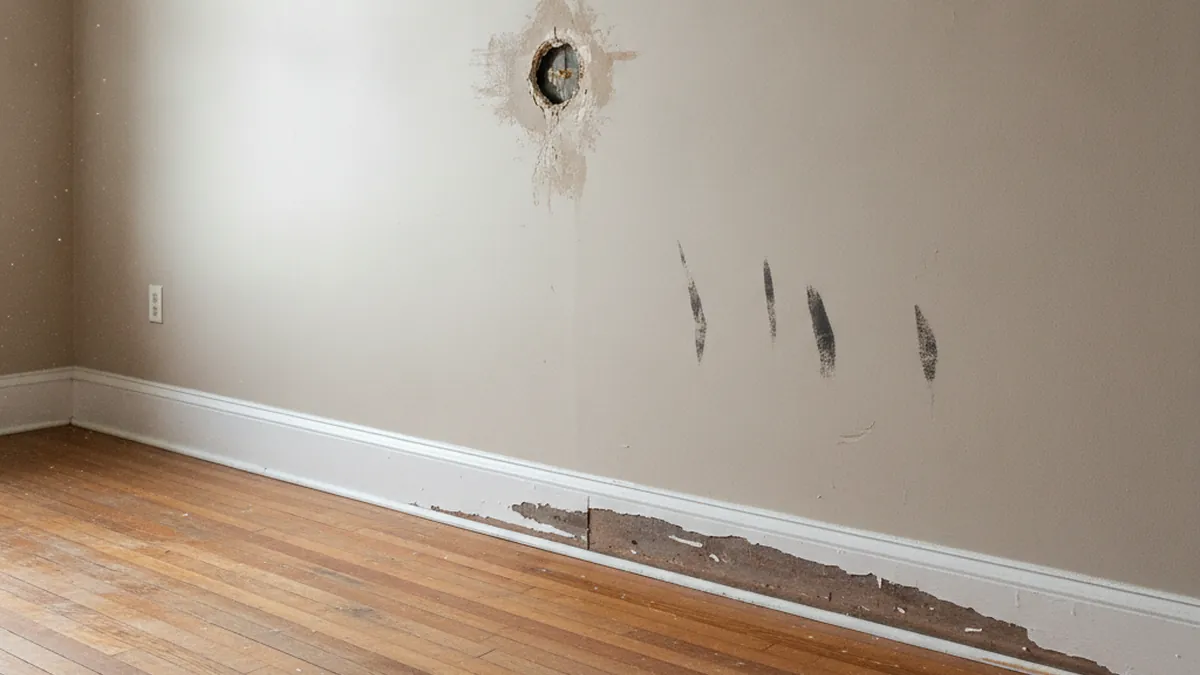
Wear or damage: pricing a fair (and winnable) claim
The trickiest question in a move-out inspection is not noting that an element is damaged: it is deciding who pays, and how much. Two principles govern this in Quebec. First, the tenant is only responsible for damage that exceeds normal wear and tear (art. 1890 and 1855 C.C.Q.). Second — and this is the trap many landlords miss — even when damage is clearly the tenant's fault, you generally cannot claim the value of a new item to replace one that was not new.
The Tribunal administratif du logement takes depreciation into account: a carpet, paint or counter has a useful life, and its value declines with the years. If a tenant ruins a carpet that was already eight years old, you cannot bill them for a brand-new carpet: the tribunal will apply a reduction to reflect the useful life that remained at the time of the damage. Claiming the full price of a worn item is the mistake that destroys credibility — sometimes to the point of getting the whole claim dismissed.
The three-question method
Before claiming anything, ask yourself, element by element:
- Is it normal wear or real damage? Compare the move-out condition against your documented move-in condition. If the element simply aged, it is on you.
- Does the damage exceed reasonable use? A wall with a few fillable frame holes is ordinary; a smashed or graffiti-covered wall is not.
- What was the element's residual value? A 15-year-old floor is not worth a new floor. Adjust your claim to the remaining useful life.
Costed examples (illustrative amounts)
The amounts below are orders of magnitude given for teaching purposes, not official rates — a real quote varies by contractor and region. Above all, they show the depreciation logic:
| Situation | Nature | Claim reasoning |
|---|---|---|
| Paint faded after 6 years of tenancy | Normal wear | $0 — repainting is on the landlord |
| Smashed wall, repair + repaint one bedroom: $600 | Damage | Justified claim, with move-in photos |
| 8-year-old carpet ruined, new replacement: $900 | Depreciated damage | Claim a fraction, not the $900 of new |
| Kitchen counter burned, section to replace: $400 | Damage | Justified if the counter was in good condition at move-in |
| Normal screw holes filled by the tenant | Normal wear | $0 — expected upkeep |
| Cleaning a unit left unsanitary: $250 | Damage / lack of upkeep | Possible claim, with photos and invoices |
The thread is always the same: your move-in inspection proves the starting condition, and your claim stays proportionate and reasonable. An adjudicator far more readily awards a moderate amount, backed by photos and invoices, than an inflated claim priced at new. For the next step of a claim involving your policy, our guide on tenant-caused damage and insurance claims covers when to go through the insurer rather than the TAT.
In short, under Quebec law the tenant must use the unit with prudence and diligence and carry out minor upkeep repairs, but is not answerable for wear due to time and normal use.
Paraphrase of the tenant's maintenance obligations — see arts. 1855 and 1864 C.C.Q.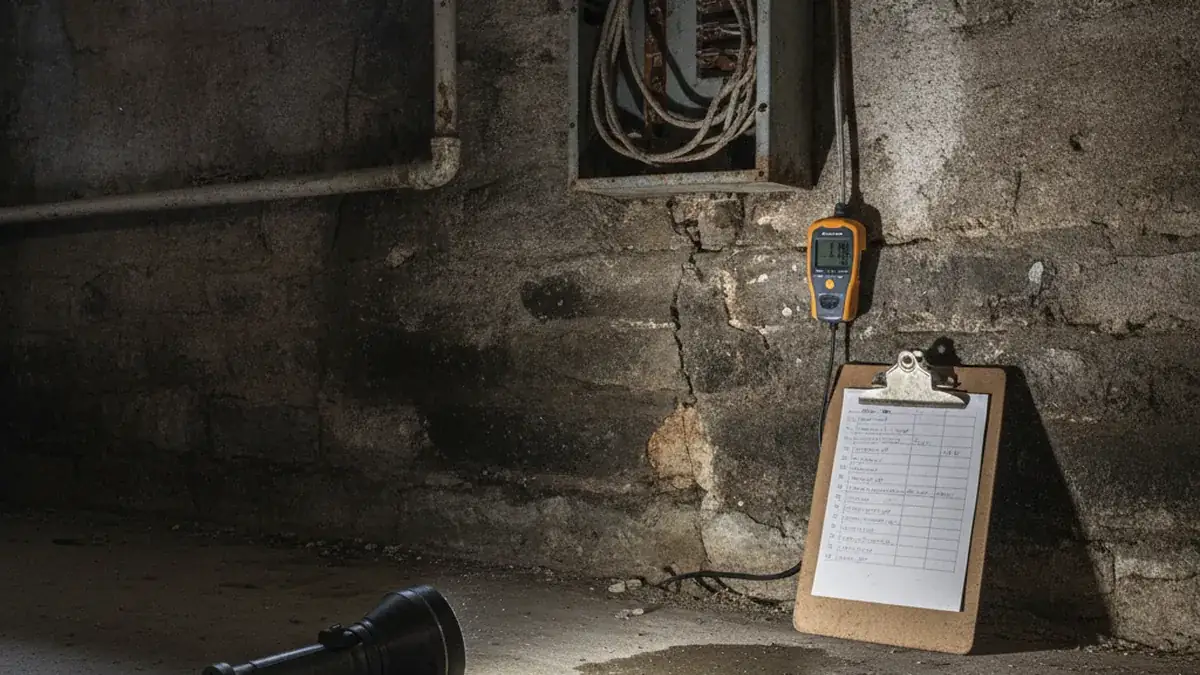
Photographing and timestamping your evidence
A poorly taken photo can turn against you. A blurry shot, with no context and no date, proves neither where the defect is nor when it appeared. Conversely, rigorous visual documentation is almost impossible to contradict. Here is how to turn your phone into a reliable evidence tool, at move-in as at move-out.
The wide-shot-then-close-up rule
For each room, always take at least two kinds of images: a wide shot that situates the room (you can see the four corners, the window, the door), then close-ups of every defect. An isolated close-up of a hole proves nothing: you cannot tell which wall or which unit it is. Chained together, the wide shot and the close-up tell a coherent story: "this is bedroom 2, this is the north wall of that bedroom, this is the hole on that wall."
Timestamping: the data that changes everything
The date is the nerve of the evidence. Three ways to anchor it, to be combined:
- EXIF metadata — every photo taken with a phone automatically records the date, time and often the location. Never alter the original files: keep them raw, as they carry the timestamp.
- Visual marker in the image — slip the day's newspaper, or a handwritten sheet with the date and address, into one of the wide shots. It is old-fashioned but devastatingly effective.
- Narrated video — film each room slowly, stating aloud the date, address and unit number. A continuous video is harder to dispute than a series of photos, because it cannot be "cropped" to hide a defect.
Organizing and keeping the file
Evidence you cannot find is evidence that does not exist. Adopt a simple, consistent folder structure for each unit:
| Item | Best practice | Retention period |
|---|---|---|
| Move-in photos and videos | Folder named "Address — Unit — Move-in — YYYY-MM-DD" | Entire lease + 3 years |
| Signed checklist | Scanned PDF + paper original | Entire lease + 3 years |
| Move-out photos and videos | Same structure, "Move-out" suffix | At least 3 years after departure |
| Backups | At least two copies (cloud + drive or email) | Same, no exception |
The three-year marker is not arbitrary: in Quebec, an action to enforce a personal right — such as claiming damages — generally prescribes after three years (art. 2925 of the Civil Code). Destroying your evidence before that period deprives you of any recourse if a dispute arises late.
Source: Civil Code of Quebec, art. 2925 (three-year prescription).
Quick documentation kit
- Charged phone + free storage space.
- Printed checklist, pen, tape measure.
- Date + address sheet to slip into the wide shots.
- A neutral witness available to sign.
- Cloud backup activated that same evening.

Filing a TAT claim, step by step
You have regained possession of the unit, compared your move-out condition to your move-in condition, and found real damage that exceeds normal wear. What do you actually do to recover your costs? Here is the typical path, from the tenant's departure to the hearing at the Tribunal administratif du logement.
Step 1 — Document and cost it out
As soon as you take the unit back, complete your move-out inspection: checklist, timestamped photos and video, ideally a witness. Then cost the damage with real quotes or invoices (painter, plumber, cleaning). Adjust each amount for depreciation when the element was not new. A credible file rests on justifiable figures, not a guess.
Step 2 — The demand letter
Before any application to the tribunal, send the former tenant a written demand letter: describe the damage, attach the cost breakdown, set a reasonable deadline to pay (often 10 days) and keep proof of sending (registered mail or email with acknowledgement). Many files settle at this stage. The demand letter is also often an expected step before filing with the TAT.
Step 3 — File the TAT application
If the tenant does not pay, file an application with the Tribunal administratif du logement, attaching your evidence file. Mind the deadline: a damage claim generally prescribes after three years (art. 2925 C.C.Q.), but do not wait — the more time passes, the harder it is to locate the tenant and show the link with the occupancy. The TAT freely assesses the evidence; it values dated, consistent documents.
Sources: TAT — Evidence · Civil Code of Quebec, art. 2925.
Step 4 — The hearing and the decision
At the hearing, you present your move-in inspection, your move-out condition, your timestamped photos, your quotes and, if possible, your witness. The tenant presents their version. The adjudicator decides and, if they rule for you, issues a decision ordering the former tenant to pay you a sum. That is where months of documentary discipline pay off: without a move-in inspection, the same hearing often comes down to your word against the tenant's.
| Step | Action | Timing marker |
|---|---|---|
| 1 | Move-out inspection + costing | The day you take the unit back |
| 2 | Written demand letter | Within days, ~10-day payment deadline |
| 3 | TAT application with evidence file | Before the 3-year prescription expires |
| 4 | Hearing and decision | Per the tribunal's docket |
The mistake that loses the file
Claiming the price of new for a worn element, or presenting undated photos taken "after the fact," weakens the whole application. Stay proportionate, back every amount with evidence, and let the move-in/move-out comparison speak.
To frame the obligations upstream, it is worth re-reading the lease: maintenance and return-of-condition responsibilities flow from it. Our article on mandatory tenant notices and legal deadlines usefully complements this process.

Special cases: assignment, roommates, furnished, pets
The "classic" inspection assumes a single tenant who moves into an empty unit and leaves a few years later. The reality of a plex is more varied. Here is how to adapt your documentation to the situations you will meet most often on the North Shore.
Lease assignment and subletting
When a tenant assigns their lease or sublets, the unit changes hands without a change of lease. It is an ideal — and too often missed — moment to document the condition at that milestone. Redo an inspection when the assignor leaves and when the assignee arrives: you will then know who is responsible for what. Without that intermediate point, damage that appeared during the second tenant's occupancy risks blending into the first tenant's history. Our guide to tenant notices and deadlines helps you understand the framework.
Roommates
With roommates, several people sign the same lease. At move-in as at move-out, have the inspection signed by each roommate present. In the event of damage, joint liability between roommates — where the lease provides for it — may apply, but your evidence must remain the same: a documented, signed move-in record. Also note partial departures: if one roommate leaves and is replaced, redo an inspection at that point.
Furnished unit
A furnished unit adds a layer: the furniture and appliances provided are part of what the tenant must return in good condition. Draw up a detailed inventory (number and condition of each piece of furniture, brand and condition of each appliance) as an annex to the inspection, with photos. At move-out, the inventory is compared line by line: a stained sofa or a broken oven is handled like any other damage, depreciation included.
Pets, smoke and odours
Damage tied to pets (scratches, soiling, odours) and to smoke is common and costly. If your lease frames the presence of pets, document the move-in condition of floors, lower walls and screens all the more carefully. At move-out, a lingering odour or urine damage is proven above all by photos, a video and, if needed, a specialized cleaning invoice.
| Situation | What to document in addition |
|---|---|
| Assignment / subletting | Condition when the assignor leaves AND when the assignee arrives |
| Roommates | Signature of each roommate; inspection redone at each replacement |
| Furnished unit | Detailed inventory of furniture and appliances, with photos |
| Pets allowed | Reinforced condition of floors, lower walls, screens, odours |
| Multi-unit plex | A separate, dated file per unit, never a shared file |
The principle stays constant: the more complex the situation, the more dated documentation protects you. In a multi-unit property, consistency from one unit to the next is the difference between a clean lease file — an asset at resale — and an end-of-lease headache. To prepare a sale, our article on the pre-sale inspection of an income property shows how these files reassure the buyer.
Full checklist and invitation template
To turn all of the above into a reflex, here is a condensed checklist and an email template to invite the tenant to the inspection. Copy them, adapt them to your plex, and keep them handy at every tenant change.
The 10-point checklist
- Prepare an identical checklist for move-in and move-out.
- Do the move-in inspection on key-handover day, unit empty.
- Work room by room, in a fixed order, one line per element.
- Note every pre-existing defect, however minor.
- Take wide shots + close-ups, timestamped, of each room and defect.
- Read the meters, test the detectors and appliances.
- Count and record the number of keys handed over.
- Sign and date with both parties; hand over a copy.
- Back up the file in duplicate (cloud + local) the same evening.
- Keep everything at least three years after the tenant leaves.
Email invitation template
A tenant who is notified and present is your best ally: a jointly signed inspection carries far more weight than a document only you know about. Here is a framework to personalize:
Sample email — invitation to the inspection
Subject: Inspection of the unit at [address, unit no.]
Hello [name],
We will carry out the [move-in / move-out] inspection of the unit on [date] at [time]. This meeting lets us note the unit's condition together, room by room, and record it in writing and in photos. Your presence matters: the document will be signed by both parties and a copy given to you. Please confirm your availability.
Best regards, [landlord's name].
If the tenant does not show up or refuses to sign, do not give up: document alone, with timestamped photos and a witness, and keep proof of your invitation. An inspection done in good faith, consistent with your move-in record, keeps real evidentiary value.
From the inspection to resaleA clean lease and inspection file reassures the buyer: see the pre-sale inspection. →Bottom line for the plex landlord
The inspection costs almost nothing and protects you for thousands of dollars. Document at move-in, repeat the exercise at move-out, lean on the three pillars — timestamped photos, signed checklist, neutral witness — and keep it all. If you manage several units in a multi-unit property on the North Shore, systematize this habit: it is the best insurance against end-of-lease disputes. And if property management weighs on you, know that ImmoMulti buys North Shore plexes directly, lease file and inspection in hand.